Check out my page
dedicated to The Five Star Stories and Work Shop Cast (link opens in a new window)
五星物語重戰機專頁 (另開新頁)
http://www.geocities.jp/ingenhk0083/

Friday, February 19, 2016

WSC Vatshu The Black Knight 進度十七

These lines are on the inner wall of the shoulder armors, they are too shawllow for a panel line wash, and normal scribing tools can't reach inside the shoulder armor. I sharpened a pin and bent it to scribe those lines. They are not very crips and straight, those spots are hard to take aim.
Posted Image
Posted Image
Posted Image

These layered details are particularly undefined, as if the photos are out of focus. I ran them over with a scribing pen, just to sharpen the corners a little, so I'd be able to do panel washing later.
Posted ImagePosted Image

WSC Vatshu The Black Knight 進度十六

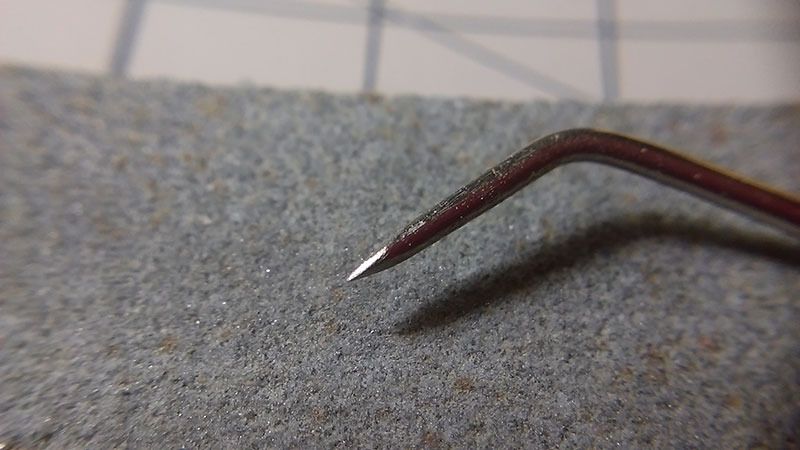
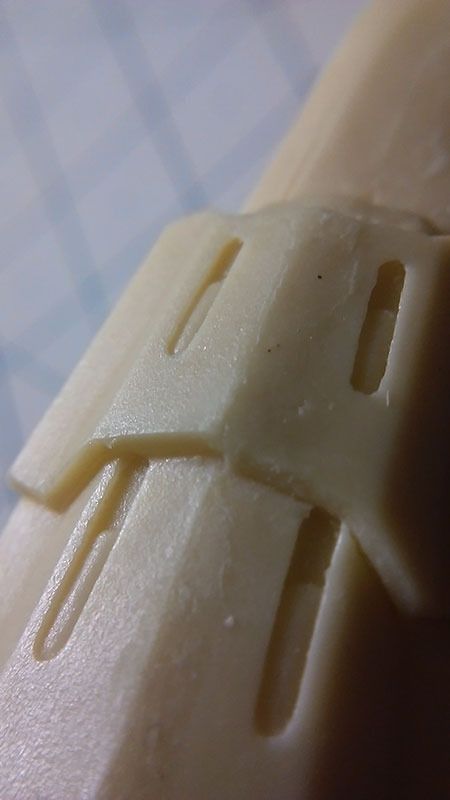
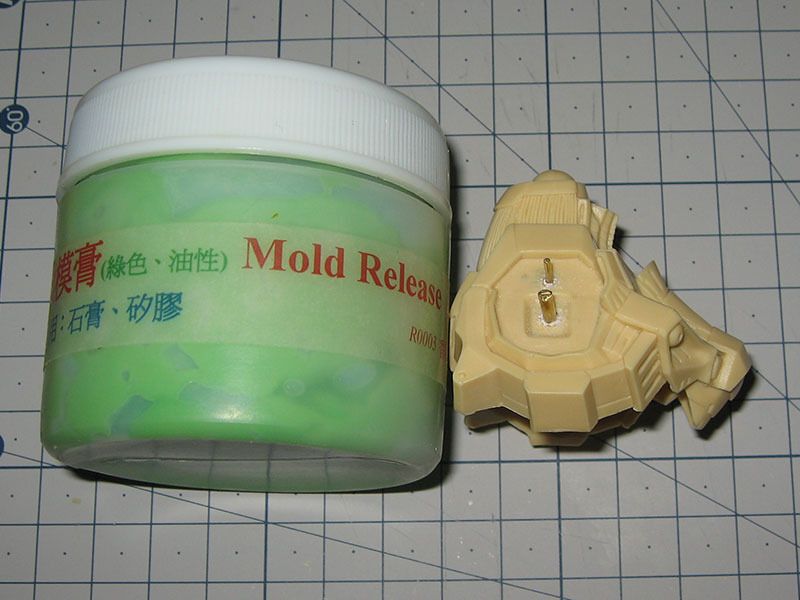
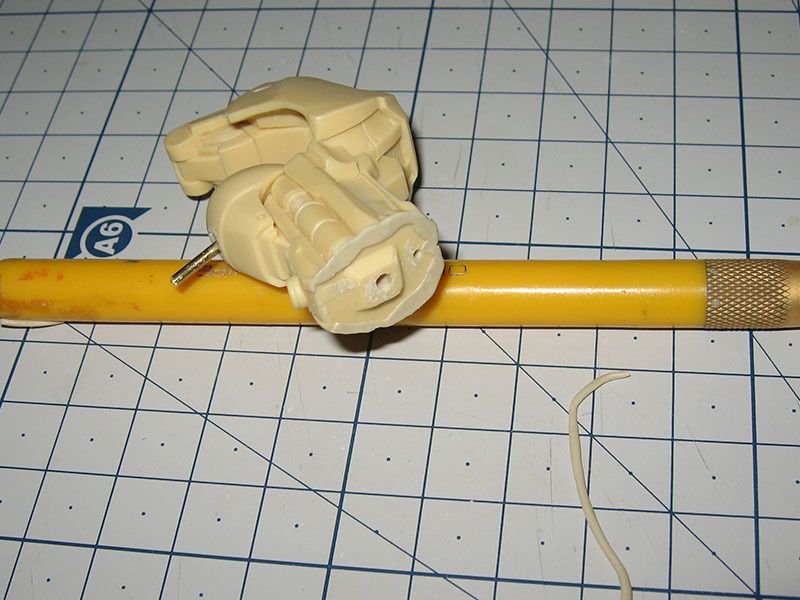
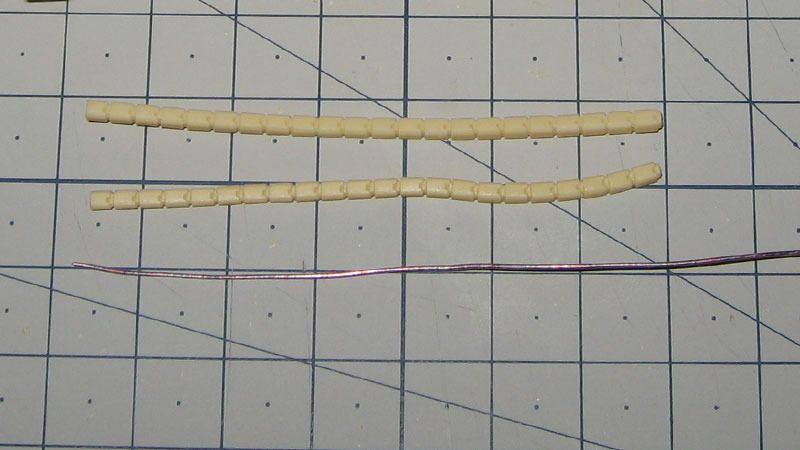
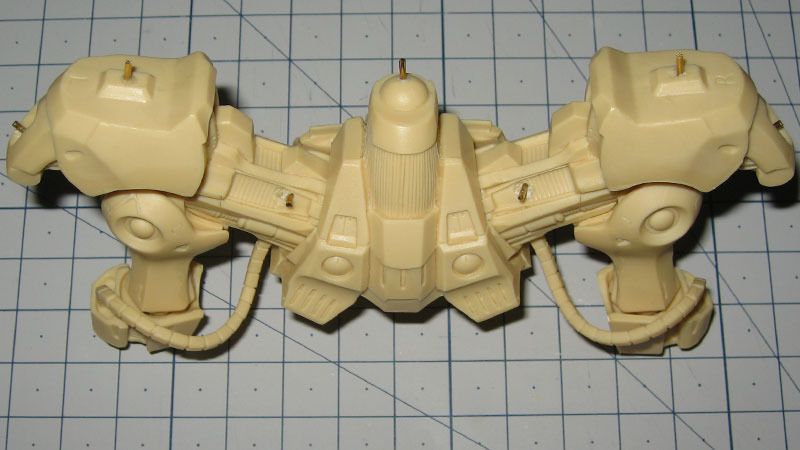
These longer cables connect the shoulders to the elbows. The trick to bending resin is, as soon as the resin left the heat source, it will become stiff again within a second. I wore a pair of rubber gardening gloves to hold the resin part directly at the hair dryer.
Posted Image

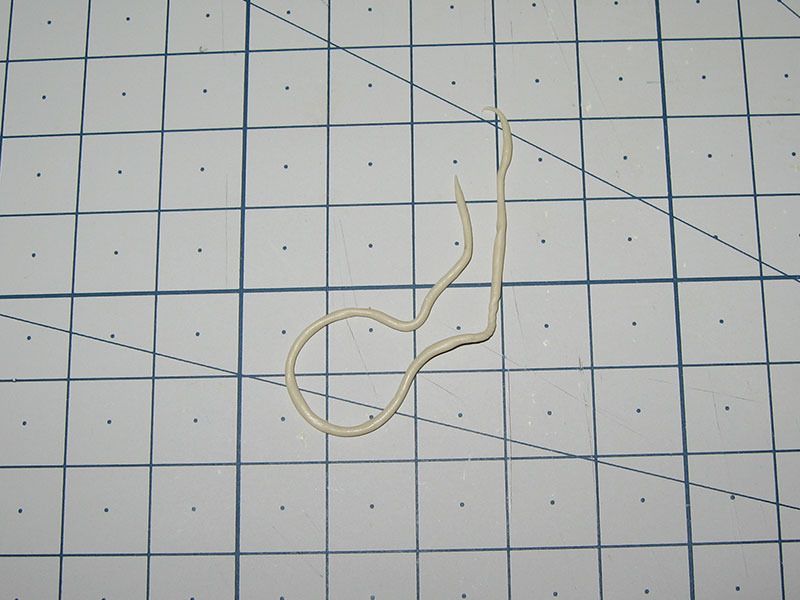
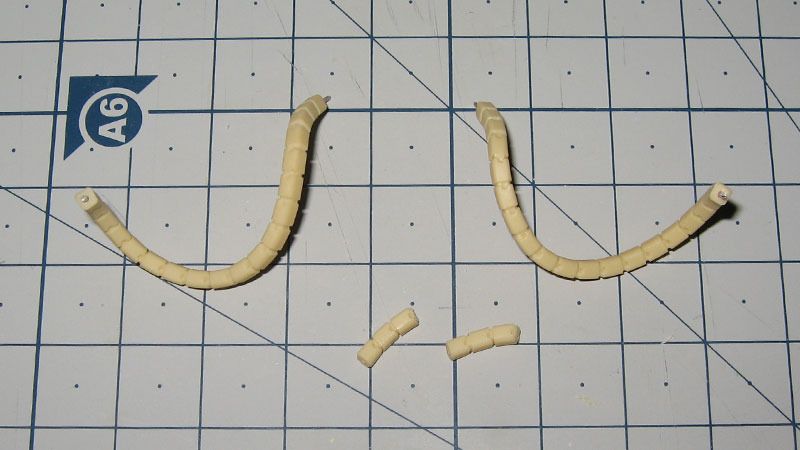
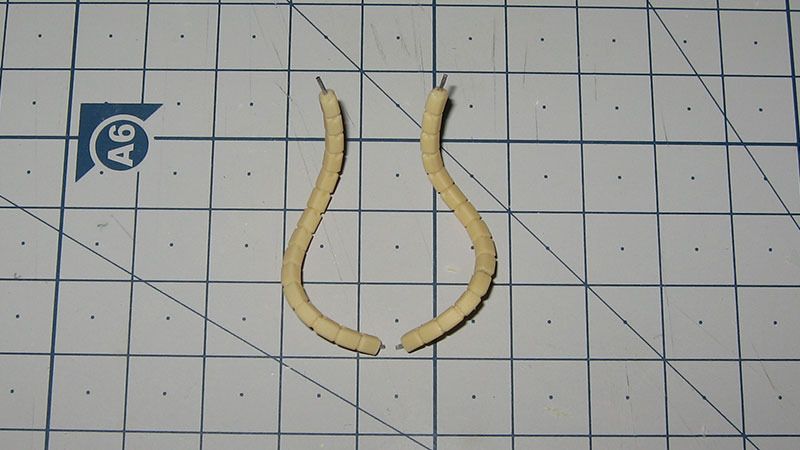
After some testing, I cut off 3 sections from the cables.
Posted Image

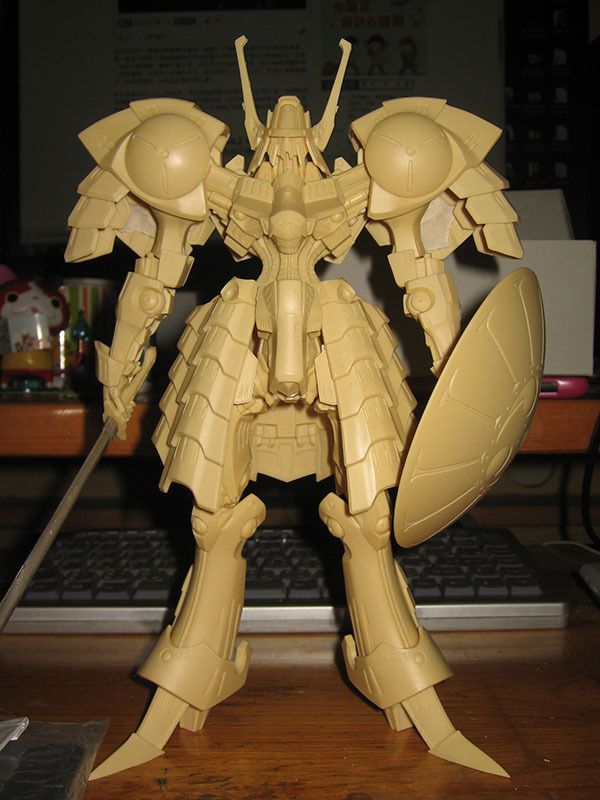
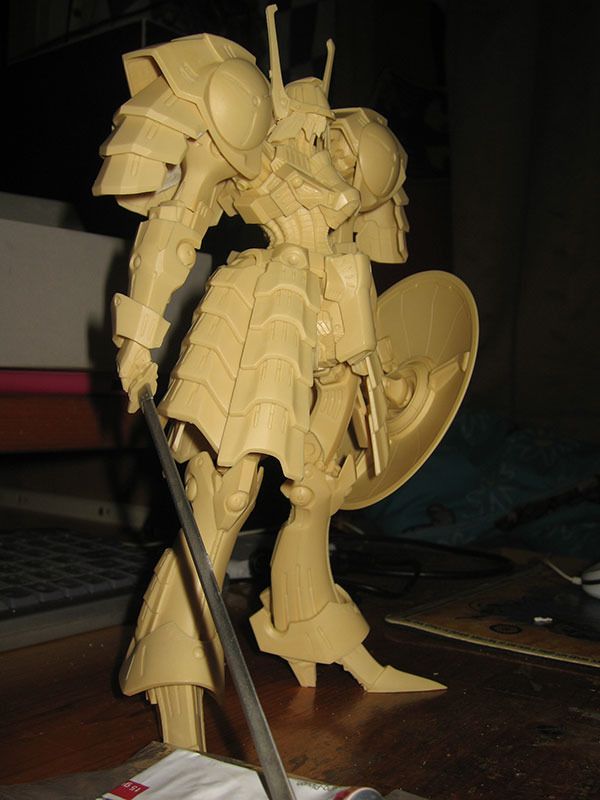
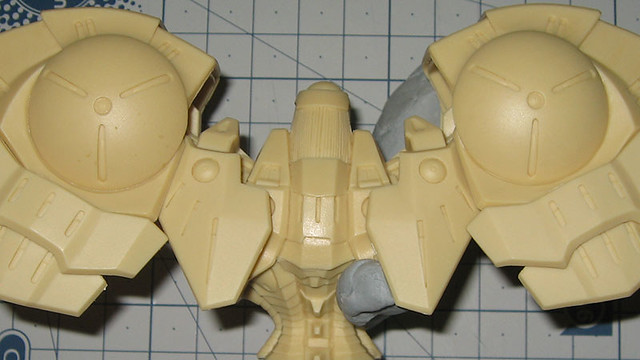
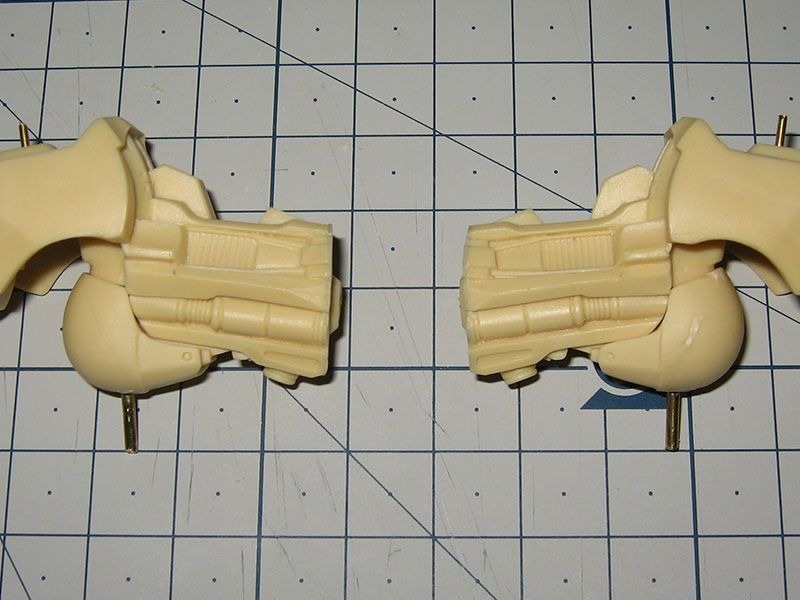
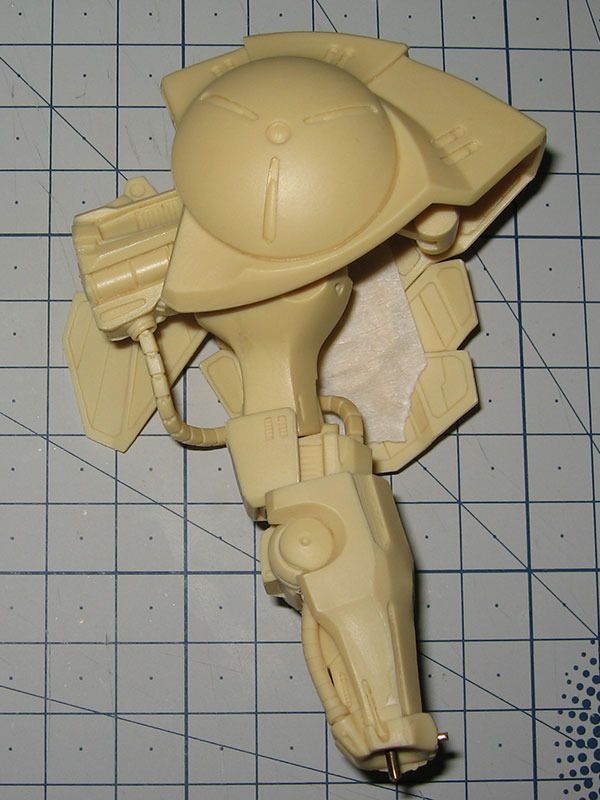
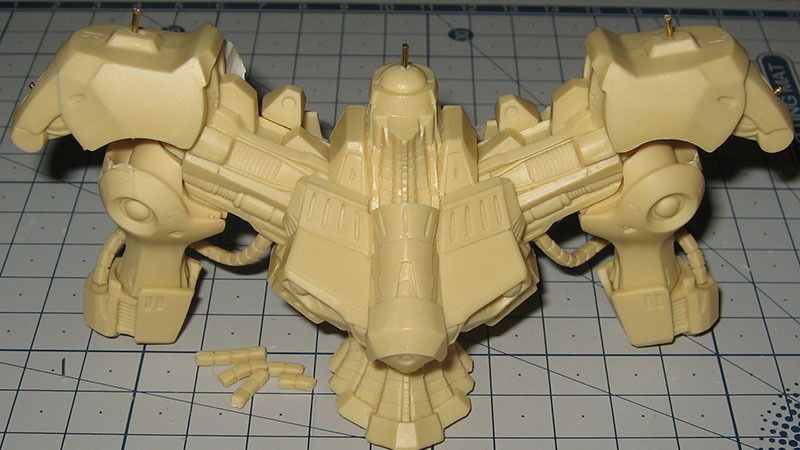
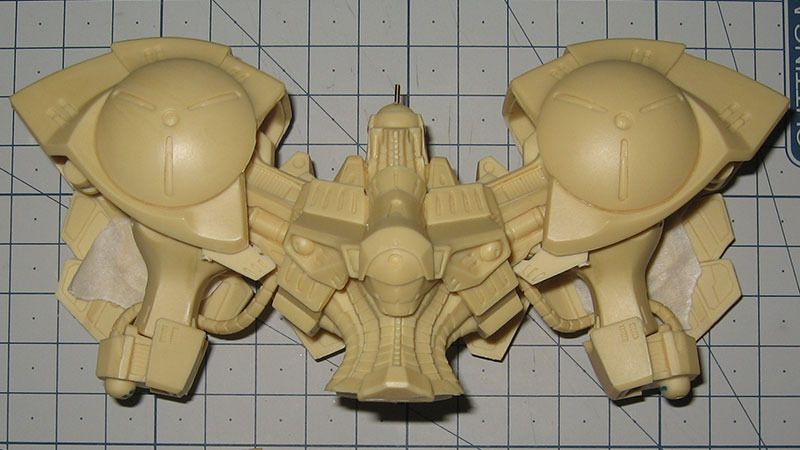
The first attempt. I thought I would allow the cable to hang down as if it is pulled by gravity, but turned out I didn't like there is too much space in between and under the armpit.
Posted Image

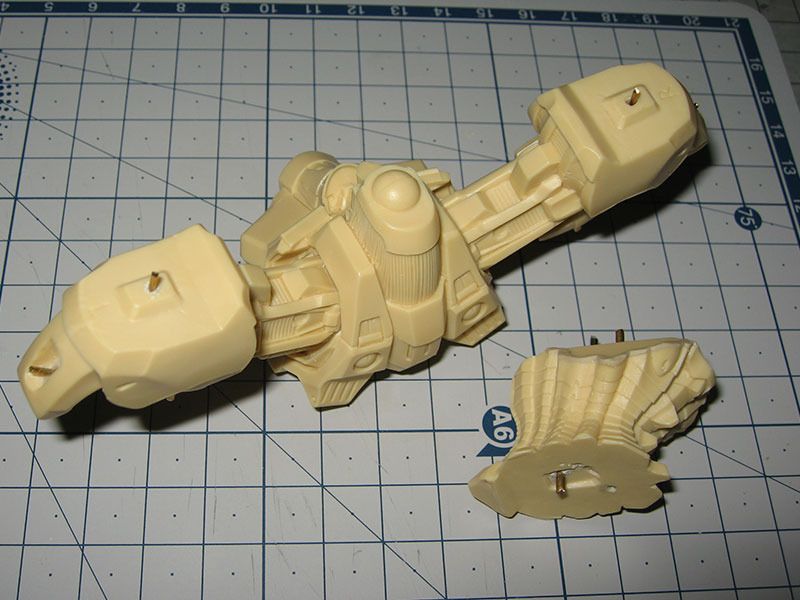
I cut away another 4 sections, total of 7 are cut, 15 sections remained.
Posted Image

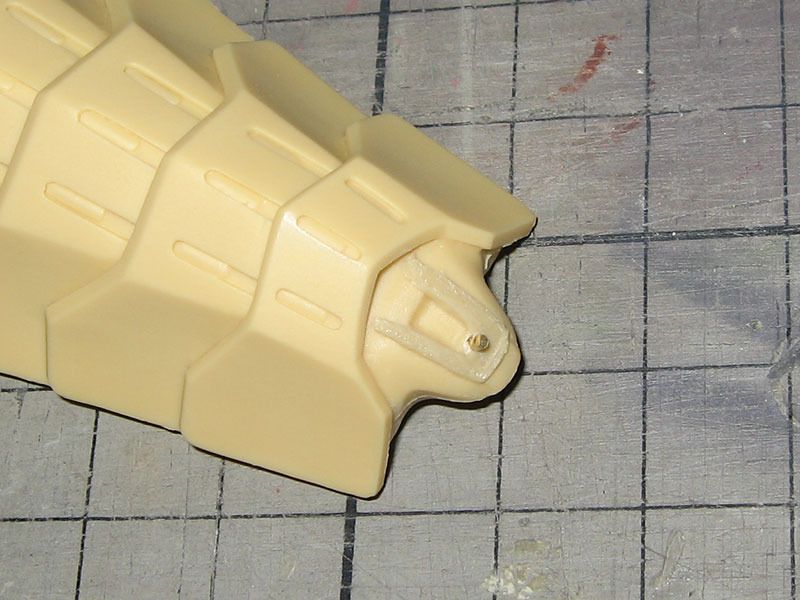
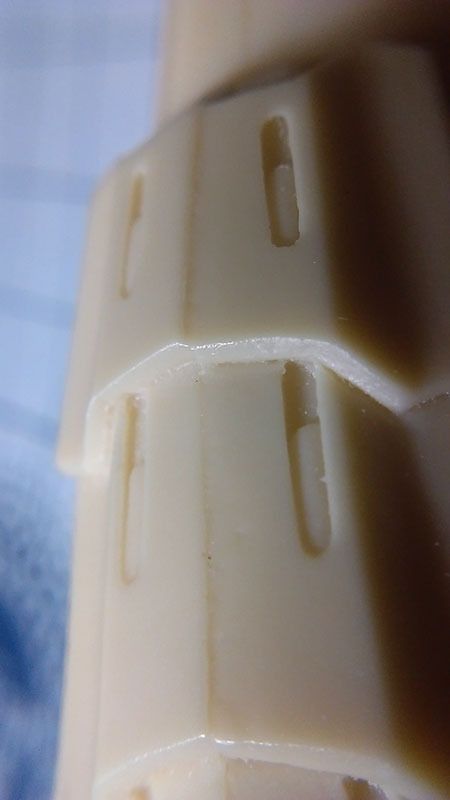
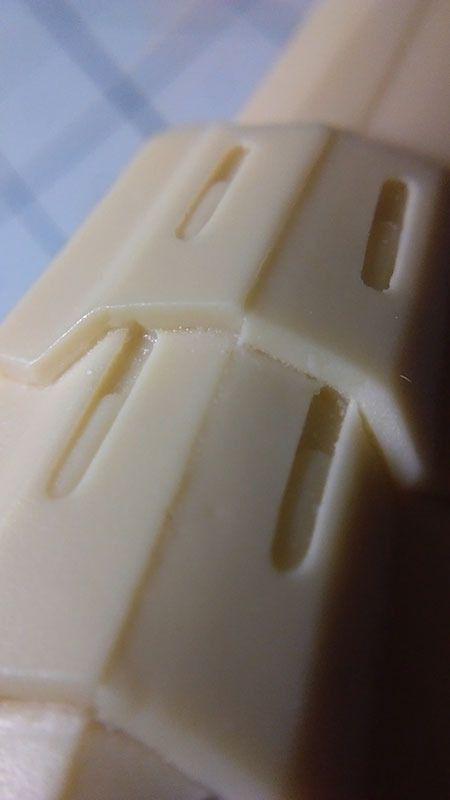
Some time in the process, I put one of the cable too close to the hair dryer, it broken off in half. Quickly I fixed it, so be careful.
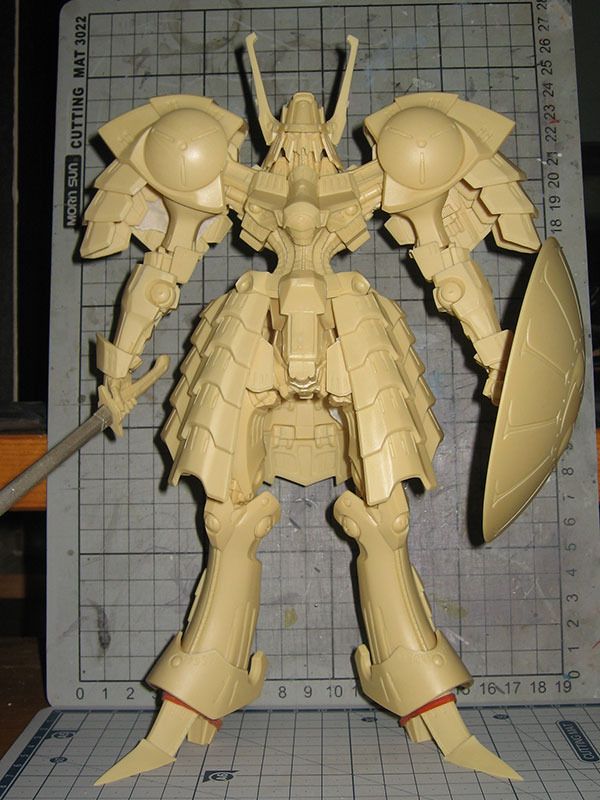
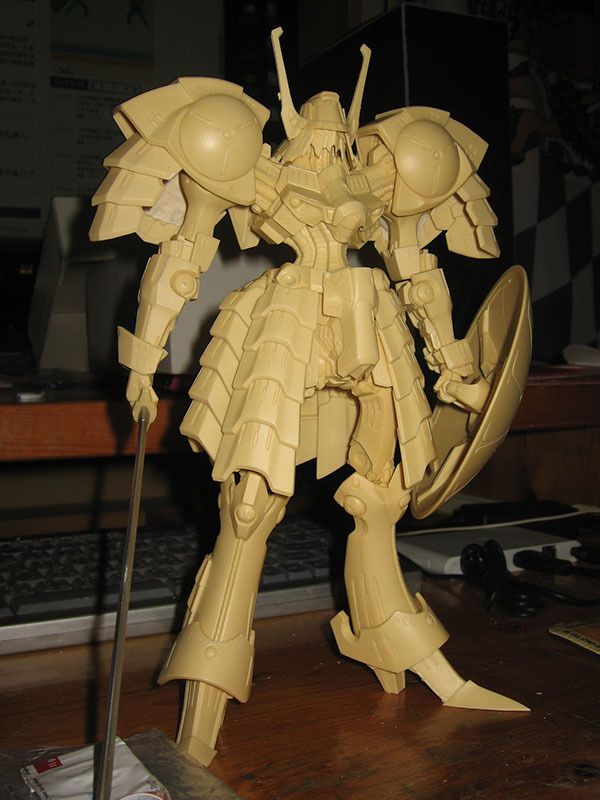
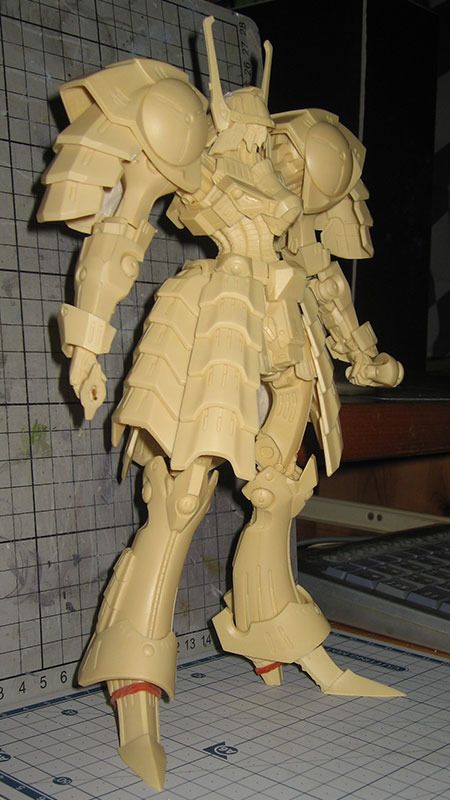
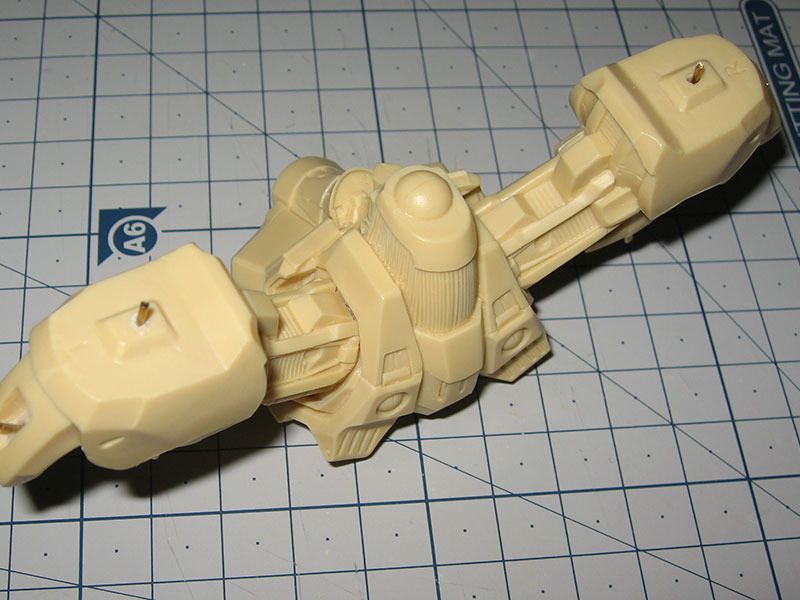
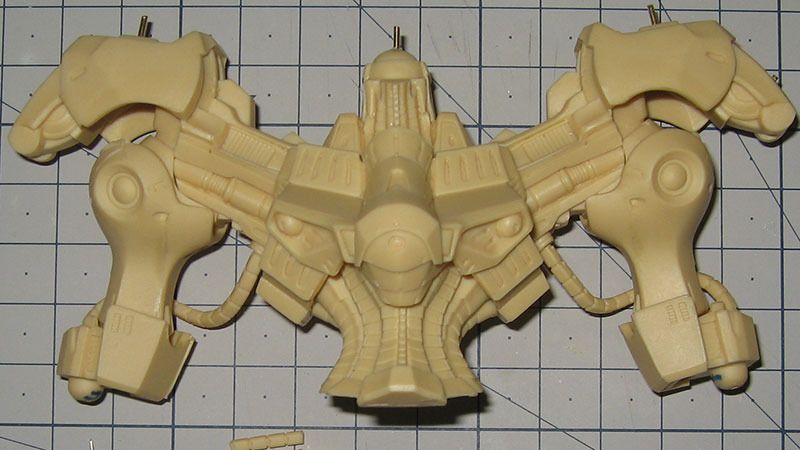
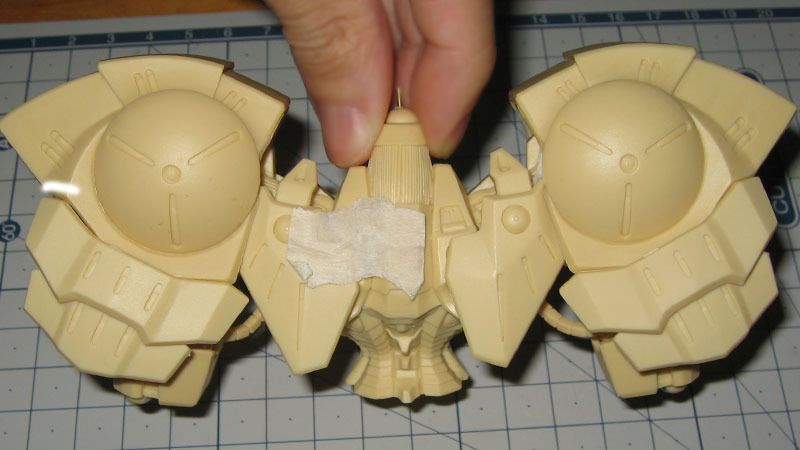
Below on the left I showed the 1st attempt with longer hanging cables. On the right are the 2nd attempt, I like how the cables filled some of the negative space under the armpits.
Posted ImagePosted Image

How I would visuzlize the composition around just the armpit area.
Posture of Mortar Headds Posture of Mortar Headds
Posted ImagePosted Image

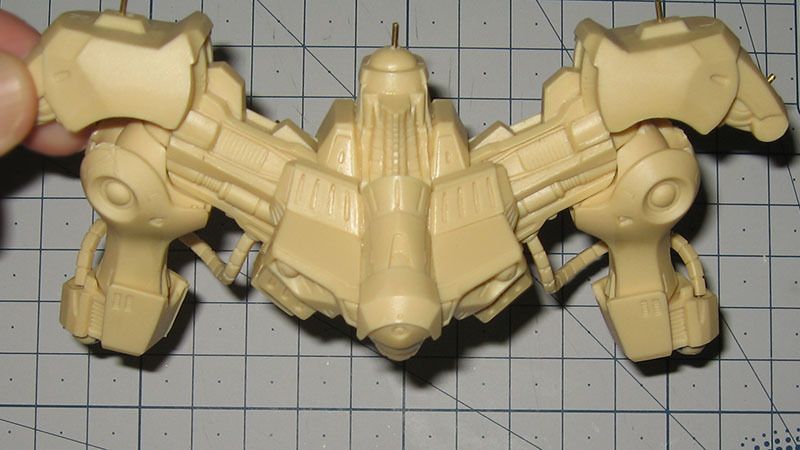
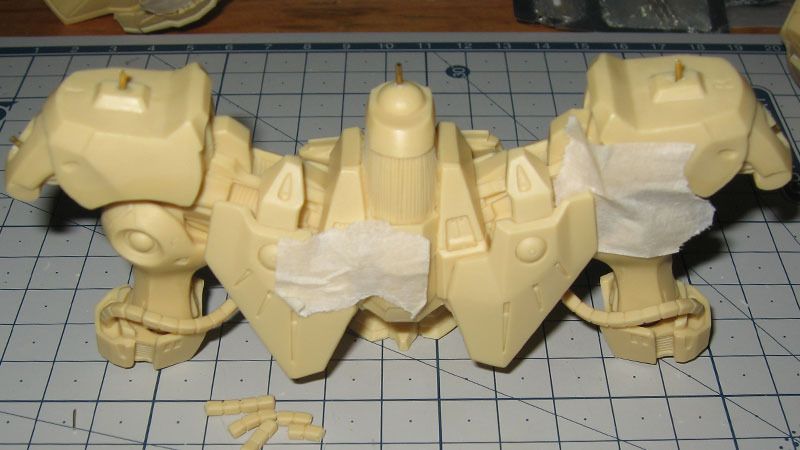
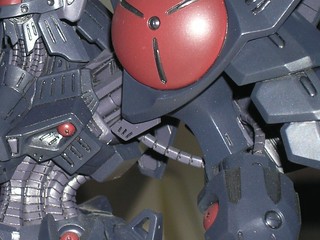
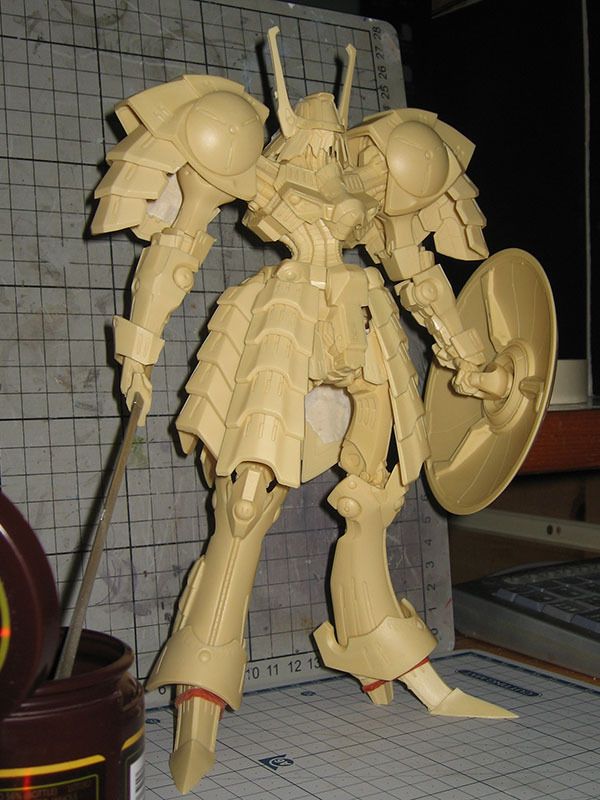
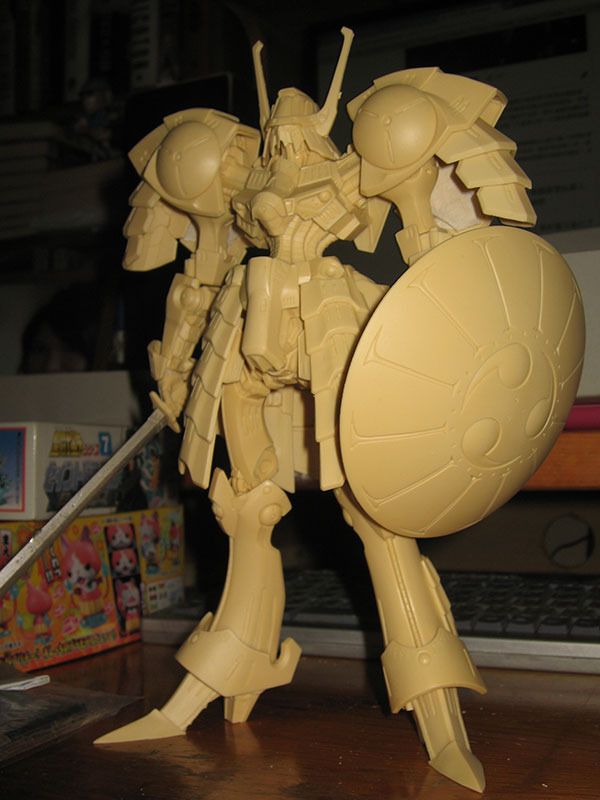
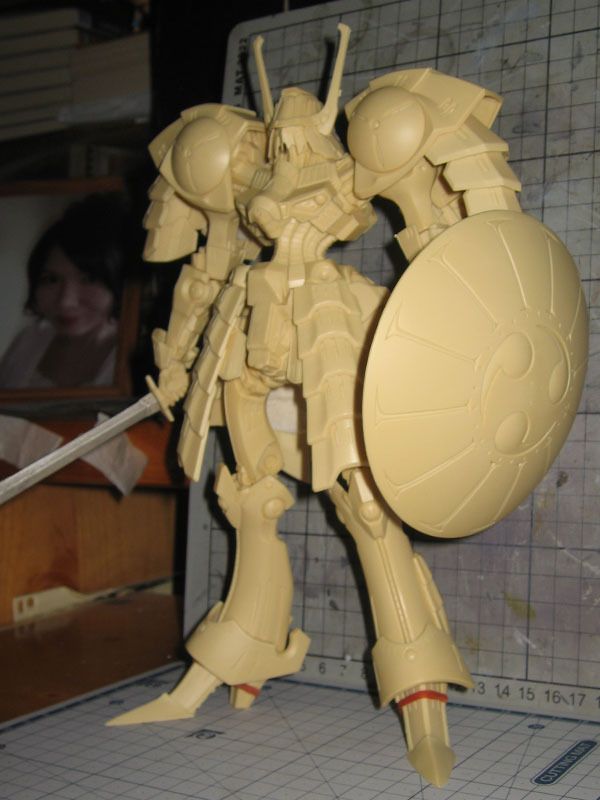
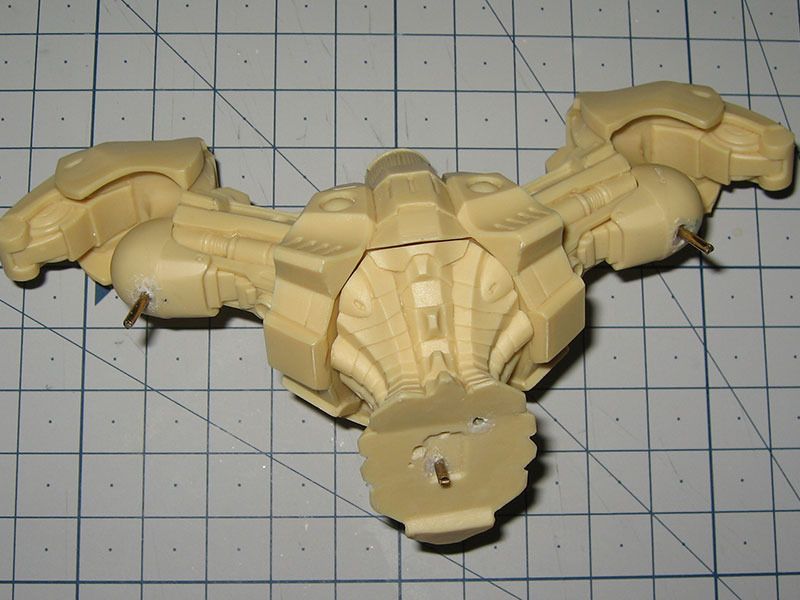
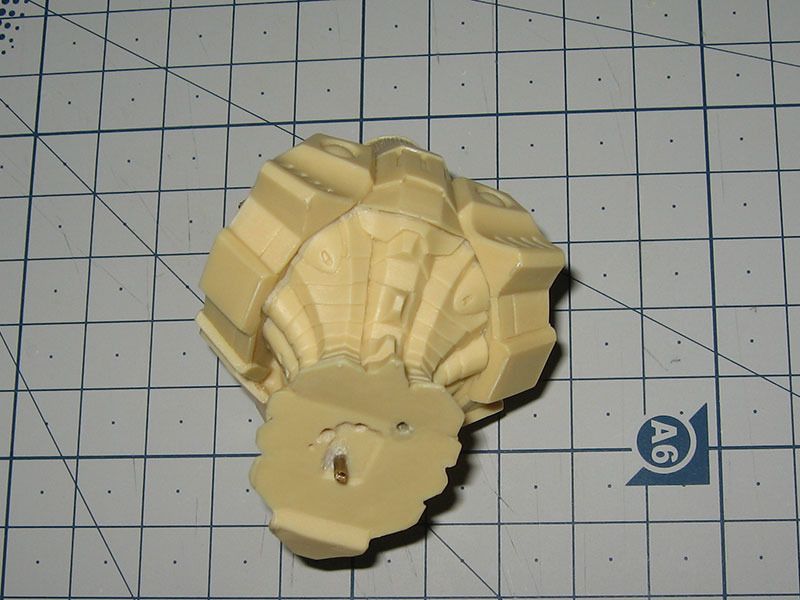
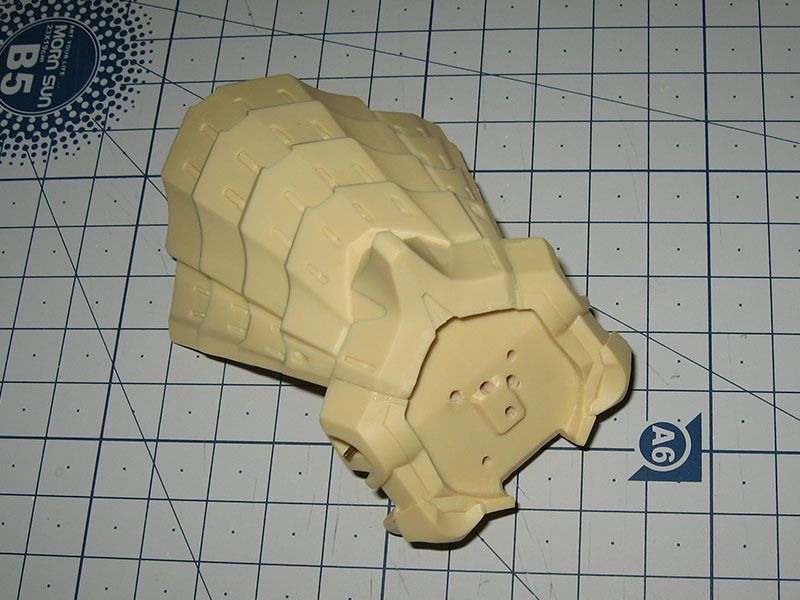
With all of the armors on, the cables are right on the edge of those armor plates on the back, that way it looks more dense.
Posted ImagePosted ImagePosted Image

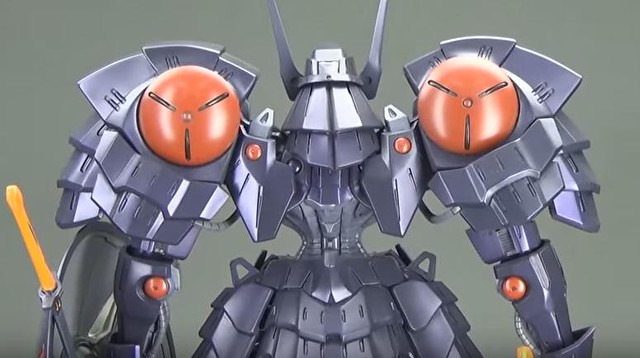
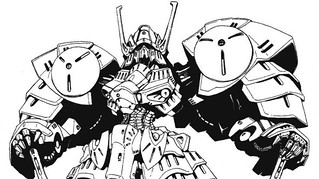
The cables on the lineart.
Posted Image
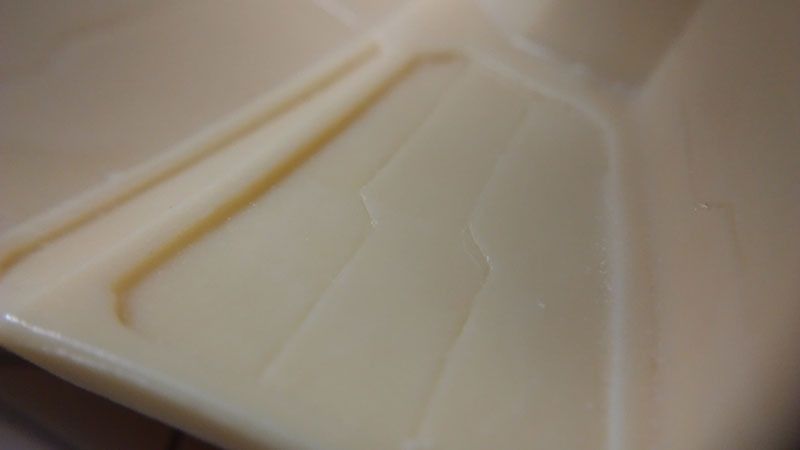
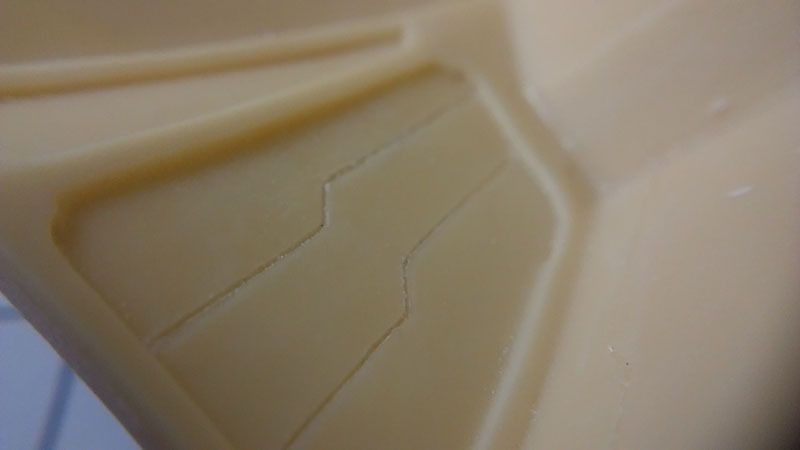
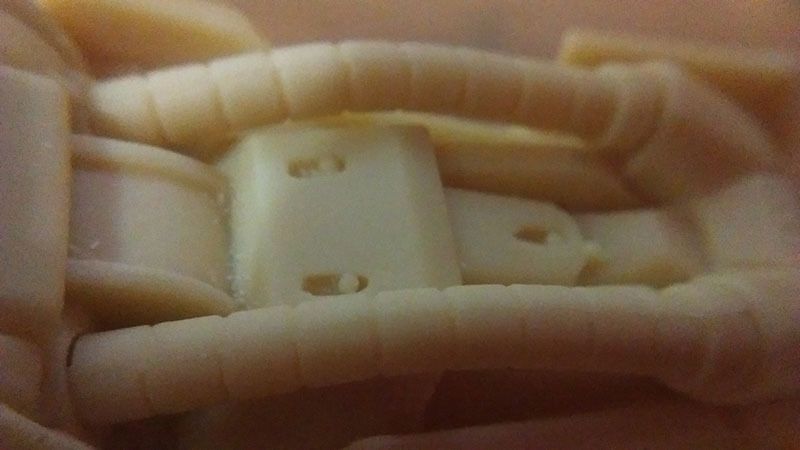
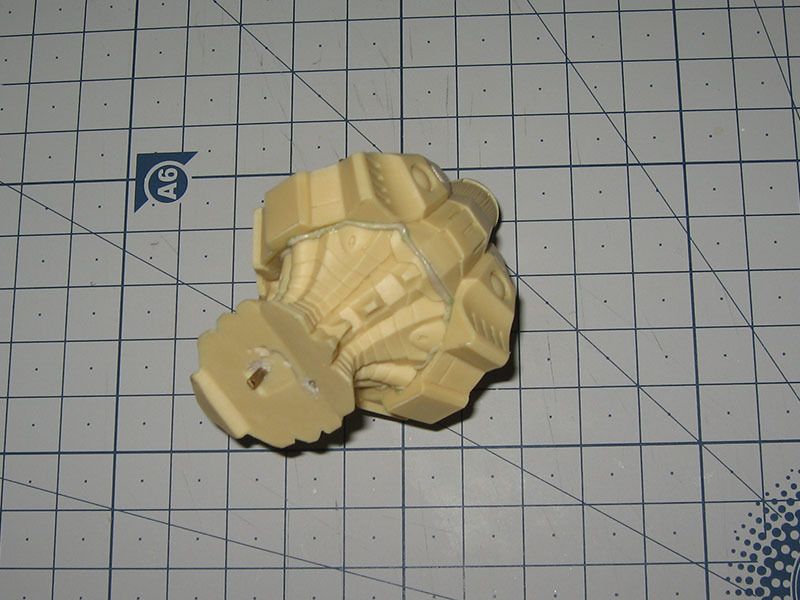
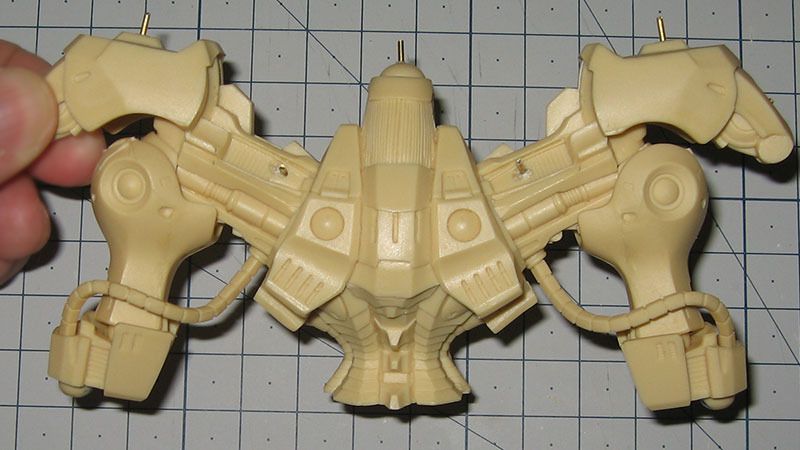
The WSC build, those indentations are front facing, I have them turned 45 degree to the side instead, on my 2nd attempt.
Posted Image

WSC Vatshu The Black Knight 進度十五

Baby powder didn't quite work here, I tried using baby powder as a medium for releasing, turned out it adhered to the other side. There is very little surface area on the other side, and this one required more precision so I left it to set while the pieces are pressed.
Posted Image

quick redo.
Posted Image

Back of the knees and rain guards
Posted ImagePosted Image

The cables for the inner- lower- arms. They are a little too short as seen in others WIP, instead of extending them, I hairdried them, the gaps are acceptable, and I like the cables being close to the bone like strings of muscle instead of actual cables that sort of overhung there, something I learned from the Gastness, the cables kind of spoiled the lower arm silhouette.
Posted Image

Friday, February 12, 2016

WSC Vatshu The Black Knight 進度十四

I re pinned the arms, now they are closer together. Next to the old one on the right, I think it looks better now from the front.
The shield is a little loose, I'll rotate it to the side to show the left thumb and reveal the entire skirt. 
Posted ImagePosted Image

From the sides, the awesomeness is reduced a little but it's ok.
Now the embarrassing part is there will be a lot of inconsistency with the pictures on the tutorial pages. 
Posted ImagePosted Image

Posted ImagePosted Image

Posted ImagePosted Image

WSC Vatshu The Black Knight 進度十三

If these steps occured on the mold lines, they must be filled before sanding, to minimize the difference between the 2 surfaces, otherwise it would result to a shifted ridge that is off center or a warped edge by just cutting away the raised side. Note to forum: forget what you learned from videos for building G-system kits where you just trim these away.

Posted ImagePosted Image

Posted ImagePosted Image
I filled these with epoxy or CA glue mixed with baby powder.
Posted Image


It seems it is a common issue that these 2 armor pieces by default are not symmetrical, look at how the left one shows more of the bead on the back underneath.
Posted Image

I had to mod both of them, otherwise the difference would be too obvious from the front view.
Posted Image

WSC Vatshu The Black Knight 進度十二

Seam lines and gaps.
These gaps occured between the chest part and the waist and shoulders. The following steps show how I would fill them. Epoxy, CA glue, and mold release will be used.
Posted Image
Posted Image

After I've decided which areas require filling, I prepared some epoxy that I rolled into a string.
Posted Image

Apply CA glue to the edge of those areas on either side, usually it is the shoulder and waist. Then surround the edge with the string of epoxy.
Posted Image

Apply mold release or grease to the other side, or on the epoxy.
Posted Image

Press the 2 parts together to stamp an impression on the epoxy.
Posted Image

Let it set.
Posted Image
Posted Image
The trimming was easy, with only about 1mm of material thickness

Posted Image
Posted Image
Posted Image

I also filled in this gap between the rear skirt and waist base without gluing them. On the instruction manual, it is recommended to glue them before painting. Supposedly there shouldn't be panel lines in between. (Tyte glued them, Barber didn't)
Posted Image